

Affiliate disclosure: Outdoor Space Accents earns from qualifying purchases made through links on this page.
Quick answer: solar lights usually stop working because the rechargeable battery has worn out, the panel is too dirty or shaded to charge it, or (on brand-new lights) a plastic tab is still blocking the battery from the factory. Work through those three things first — they fix the vast majority of “dead” solar lights.
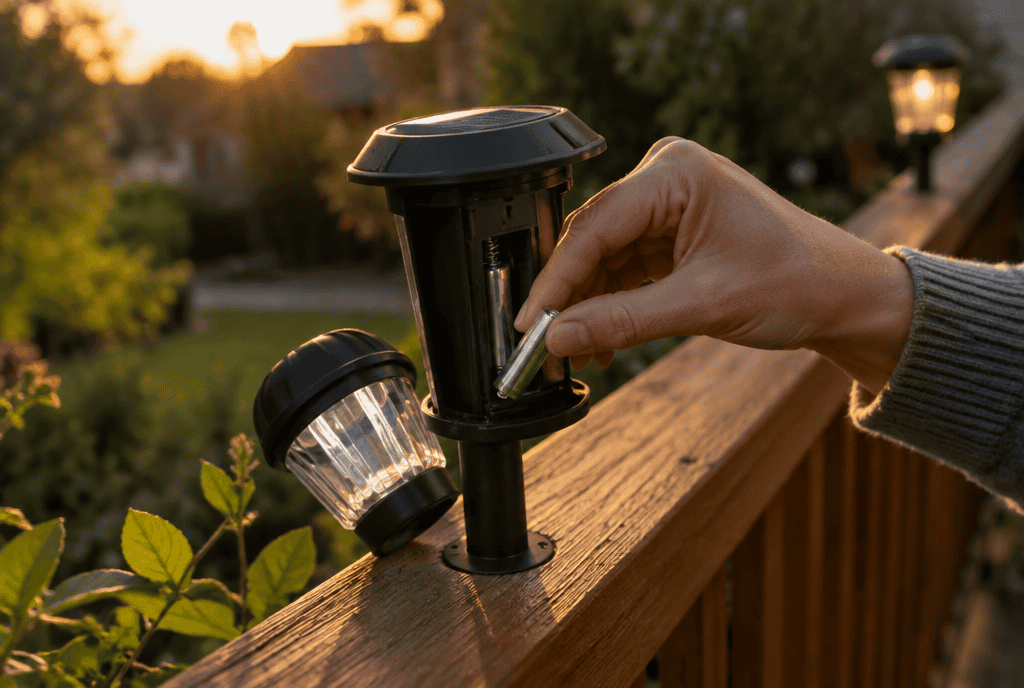
I’ve replaced more solar light batteries than I care to admit around our own patio and walkway. The good news: solar lights are about the simplest outdoor electronics you own, which means the failure list is short and almost everything is fixable in under ten minutes with a screwdriver and a fresh battery.
A solar light is a self-contained outdoor fixture that uses a small photovoltaic panel to charge a rechargeable battery by day and power an LED at night — most path lights run on a single 1.2V NiMH AA or AAA cell rated between 600 and 2000mAh.
Last Updated: September 2026 | Will Montgomery is an electro-mechanical engineer and business owner. Rechargeable batteries, photovoltaic panels, and low-voltage circuits are basic electrical components in his machine-design work, which is why this guide separates a battery problem from a charging problem before you spend money on either. At home he’s the one who assembles, repairs, and re-batteries everything on the patio. More on the About page.
Common Causes at a Glance
| Symptom | Likely Cause | Fix |
|---|---|---|
| Light never turns on, even at night | Battery pull-tab still in, dead battery, or switch off | Remove tab, replace battery, confirm switch is ON |
| Turns on but dies within an hour | Worn-out rechargeable battery | Replace the battery (see below) |
| Dim or flickering light | Dirty/shaded solar panel, low charge | Clean the panel, relocate to full sun |
| Worked fine, then stopped suddenly | Battery finally gave out, or panel is now shaded by growing plants | Check panel exposure first, then battery |
| Turns on during the day | Faulty light sensor | Clean sensor, check for stuck cover, may need replacement |
| Stopped working after winter | Cold-weakened battery, moisture intrusion | Replace battery, check gaskets/seals |
Check the Basics First: Switch, Battery Tab & Placement
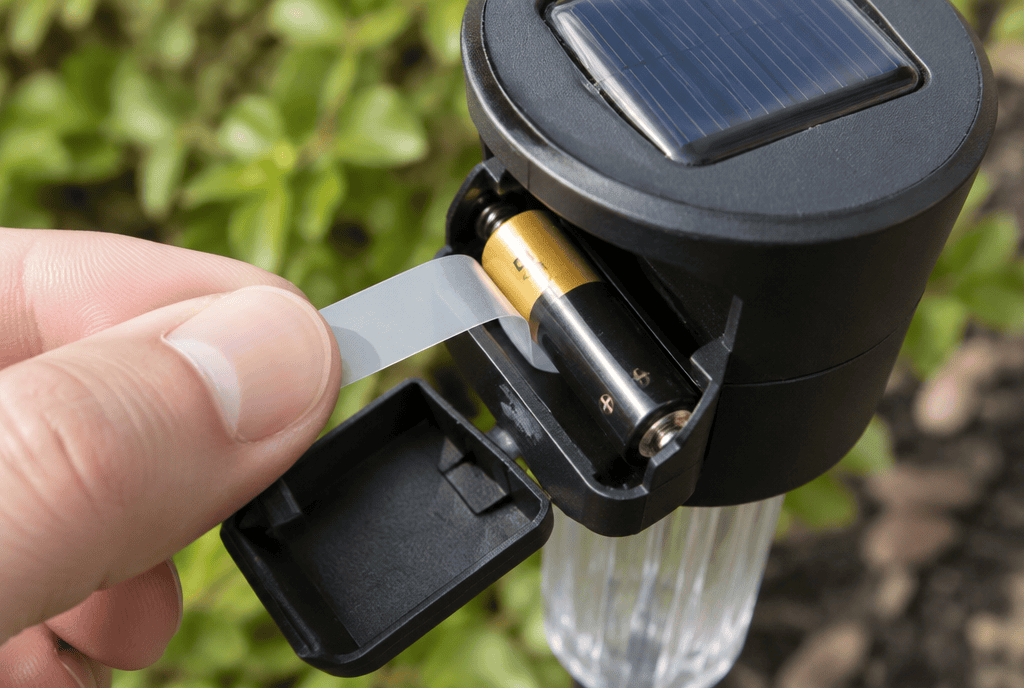
Before you touch a screwdriver, rule out the free fixes. Every solar light has an on/off switch, usually hidden under the solar cap or on the base — confirm it’s actually in the ON position. If the light is brand new, open the battery compartment and look for a thin plastic tab sticking out next to the battery; manufacturers insert these to prevent the battery from draining in the box, and forgetting to pull it is the single most common reason a “broken” new light does nothing at all.
Next, look at where the panel is actually getting sun. Solar panels need several hours of direct, unobstructed sunlight — a panel that’s shaded by a fence, an overgrown shrub, or even the light’s own housing angle won’t generate enough charge no matter how new the battery is. We had a row of path lights that “died” every summer until I realized the hostas next to them had simply grown tall enough to shade the panels by July.
Clean and Reposition the Solar Panel
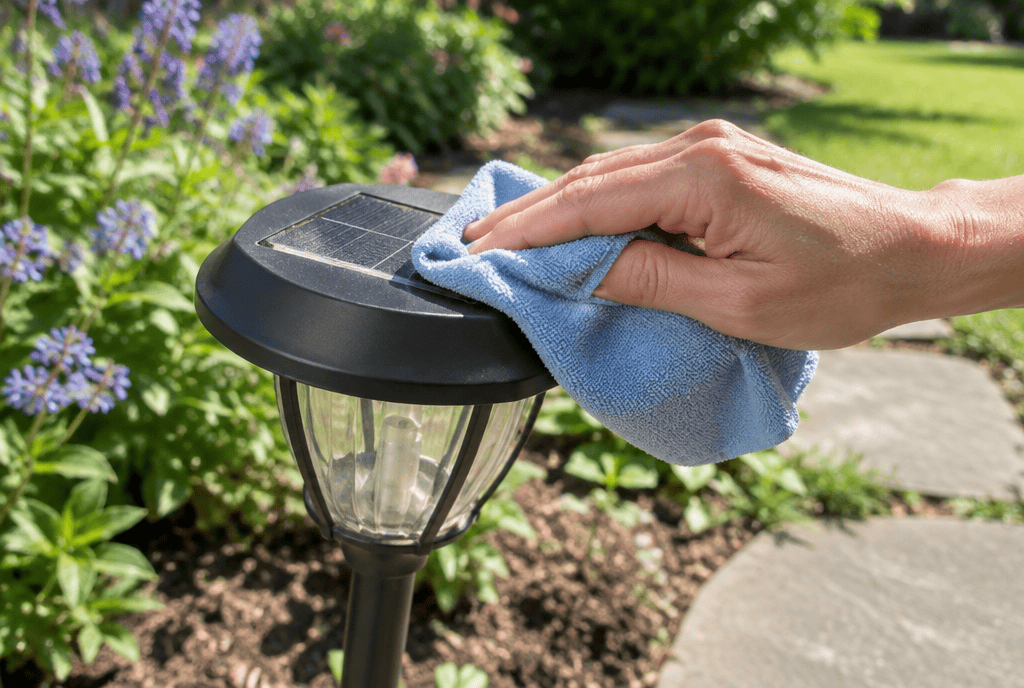
Dust, pollen, hard-water spots, and grime cut a panel’s charging efficiency dramatically — even a light haze can drop output by 30% or more. Wipe the panel with a soft, damp microfiber cloth every month during pollen season, and again after any dry, dusty stretch. While you’re at it, confirm the panel faces true south (in the Northern Hemisphere) and isn’t angled toward a wall, tree canopy, or the underside of a porch roof. If you’re rethinking the whole layout while you’re out there, our complete backyard lighting guide covers placement and spacing.
How to Replace Solar Light Batteries (Step-by-Step)
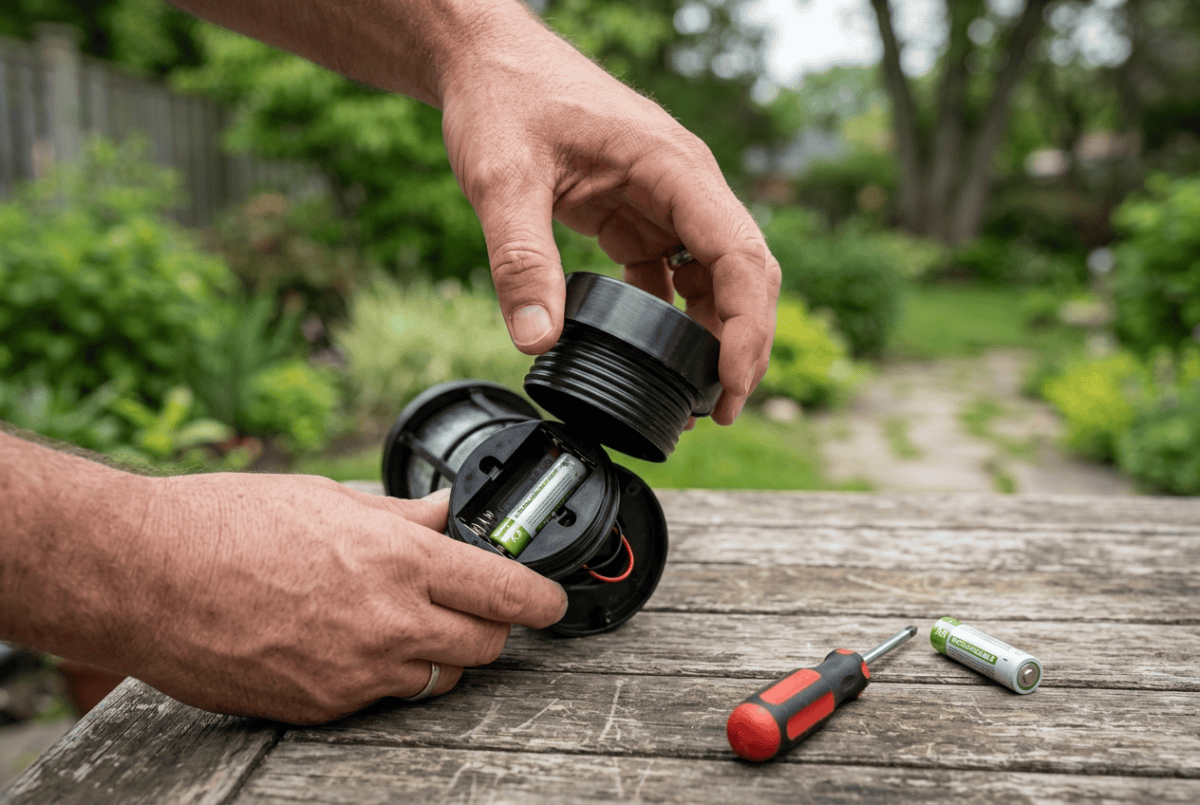
If the panel is clean and gets good sun but the light still won’t hold a charge, the battery is almost always the culprit — rechargeable batteries in solar lights typically last 1–2 years before capacity drops off a cliff. Here’s how to swap one:
From experience: on our own path lights the 2000mAh packs did run longer on a full charge — but in an average yard the sun rarely had enough hours to fill that capacity, so day to day there was no real advantage over the stock 600mAh packs. Lifespan was a wash too: both averaged 5 to 6 years, and by then sun-fade on the panel was cutting the charge more than the battery was.
- Identify the battery type. Open the compartment (usually a twist cap or a small screw) and check what’s inside. Most garden path lights use a single rechargeable NiMH AA or AAA battery (1.2V — not a regular 1.5V alkaline). Larger fixtures, floodlights, and some string lights use an 18650 lithium cell instead; a few decorative lights use a small rechargeable coin cell.
- Buy the matching replacement. Always replace with the same rechargeable chemistry and voltage — a regular alkaline battery will not recharge and can damage the circuit. For most path lights, a pack of 1.2V 600mAh NiMH AA solar batteries (around $10) is the direct match. If you prefer a name brand, the Amazon Basics 8-Pack Rechargeable AA NiMH (2000mAh, 1.2V) also works — it simply holds more charge than a small panel can fully top up, which is harmless.
- Swap it out. Note the polarity (+/-) before removing the old battery, then insert the new one the same way.
- Give it a full charge cycle. Leave the light in direct sun for a full day before judging performance — a brand-new battery needs at least one full charge to reach its rated capacity.
Fix a Stuck or Broken On/Off Switch
If the light won’t respond at all, even with a fresh battery, the physical switch may be corroded or stuck — common after a wet season. Most switches are a simple slide or push type accessible once you remove the battery cover. A little contact cleaner and a few flicks back and forth often frees it up; if the switch housing is cracked or the light still won’t hold a connection, it’s usually cheaper to replace the whole fixture than to source a replacement switch.
Troubleshoot a Faulty Light Sensor
Solar lights use a small photoresistor to detect darkness and turn the LED on automatically. If your lights are staying on during the day or never turning on at night, the sensor itself may be dirty, obstructed by debris, or failing. Clean the sensor window (usually a small dark dot near the panel) with a cotton swab. If it’s still misreading daylight after cleaning, the sensor has likely failed — this isn’t a repairable part on most consumer lights, so it points toward replacement.
Solar Lights in Winter: Seasonal Care & Cold-Weather Fixes
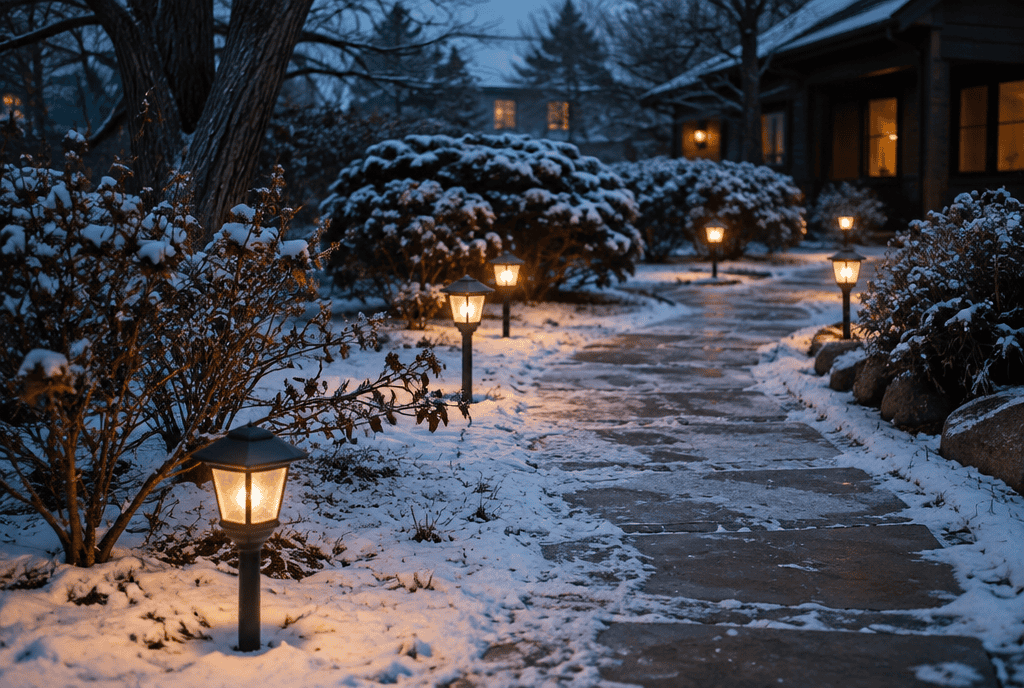
Cold weather is genuinely hard on solar lights for two reasons: shorter winter days mean less charging time, and rechargeable battery capacity drops noticeably in cold temperatures — so don’t panic if your lights run dimmer or shut off earlier once temperatures fall. For lights you plan to keep out all winter, make sure the battery compartment’s rubber gasket is seated properly to keep moisture out, since freeze-thaw cycles are what actually kill batteries and corrode contacts long-term. If you live somewhere with real winters, bringing decorative solar lights in for the season and storing the batteries separately will add years to their life — see our solar vs. wired landscape lighting comparison if you’re debating whether solar is even the right call for a harsh-winter climate.
Repair or Replace? How to Decide
A replacement rechargeable battery runs $3–$10 depending on type, so for any light that cost more than about $15 originally, replacing the battery is almost always worth it over buying new. Where replacement stops making sense is when the panel itself is cracked, the housing has cloudy/yellowed plastic that’s cutting light output, or you’re dealing with a $5 bargain-bin light to begin with — at that point, upgrading to a better fixture is the smarter move — even a basic name-brand set like the Hampton Bay Clermont 15-lumen glass-lens solar path lights (4-pack) from Home Depot runs about $34 and uses a standard replaceable AA. Our tested picks for the best solar path lights are a good starting point if you’re ready to replace rather than repair, and our roundup of the best solar lights for the whole backyard covers string, spot, and deck lights too.
Frequently Asked Questions
Why did my solar lights suddenly stop working after working fine?
Usually a worn-out battery or a dirty/shaded panel that’s no longer collecting enough charge. Check panel exposure first since it’s the free fix.
How do I know if it’s the battery or the panel?
Cover the panel with your hand to trigger the dark sensor — if the light turns on but dies within an hour, it’s the battery, not the panel.
What size battery do solar lights use?
Most garden and path lights use a rechargeable NiMH AA or AAA battery (1.2V). Larger fixtures and floodlights may use an 18650 lithium cell — check your specific model before buying a replacement.
Why are my brand new solar lights not working?
A thin plastic tab often insulates the battery from the factory to prevent drain during shipping. Open the compartment, remove the tab, and give the panel a full day of direct sun.
Do solar lights work in winter?
Yes, but cold weather reduces battery capacity and shorter days mean less charging time, so expect dimmer light and shorter runtimes until spring.
Will Montgomery holds a degree in electro-mechanical engineering and runs his own business. That machine-design background is how he judges what is built well, what is overpriced, and what is safe before it gets recommended here — tested the hard way while building out two backyards on a budget.