

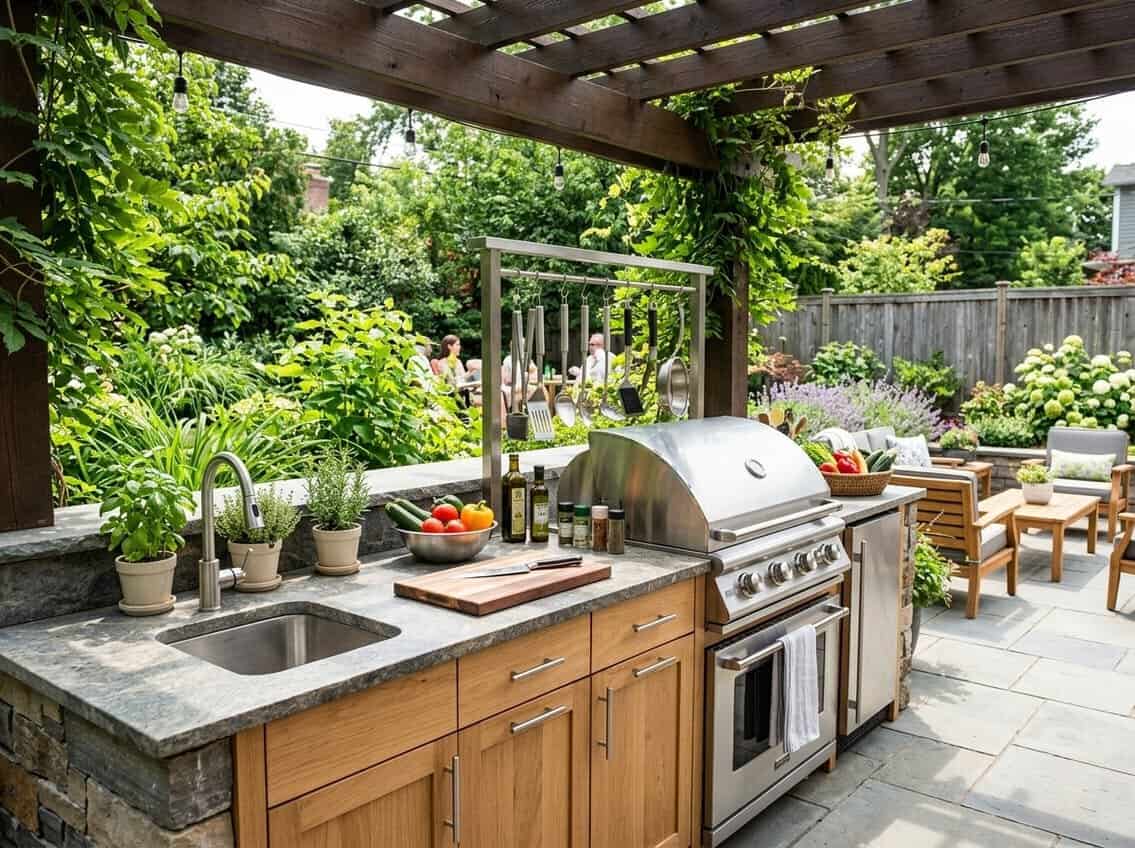
An outdoor kitchen turns a backyard into a year-round gathering spot for family meals and weekend entertaining. Before buying appliances or breaking ground, homeowners need to make five core decisions: budget and scope, location and layout, utility connections, essential appliances, and durable materials that withstand weather.
Last Updated: June 2026 | Will Montgomery has spent years designing and building outdoor living spaces. He’s evaluated dozens of outdoor kitchen setups and knows what separates a functional backyard kitchen from an expensive mistake.
Getting these foundational choices right prevents expensive mid-project changes and ensures the finished space works for how the family actually cooks and entertains. Planning an outdoor kitchen involves more than picking a grill and pouring a concrete pad. The process requires thinking through gas lines, electrical circuits, counter space, storage, and traffic flow around the cooking area.
This guide walks through each planning phase in order. It covers how to set a workable budget, choose between propane and natural gas, position the kitchen for sun and wind, and select materials that last through rain and heat cycles.
Defining Your Outdoor Kitchen Goals

Setting clear goals for your outdoor kitchen prevents expensive mistakes and ensures the finished space matches how you actually live. The number of guests you typically host and the cooking style you prefer shape everything from layout size to appliance selection, while your desired aesthetic determines materials and finishes.
Identifying Usage and Entertaining Needs
The size and complexity of an outdoor kitchen should match realistic entertaining patterns. A household that grills twice a week for family meals needs different features than one hosting large weekend gatherings.
For small family cooking, a compact grill island with basic prep space and storage works well. Frequent entertainers benefit from multiple cooking zones and integrated refrigeration to keep beverages cold during parties.
Consider how many people typically gather in the backyard. A 10×10 foot space handles intimate dinners, while bar seating and serving areas require at least 15×15 feet. List the appliances that match actual cooking habits rather than aspirational ones.
Think about whether the kitchen will see year-round use or seasonal activity. Climate affects both material selection and the investment level that makes sense. A three-season space in a cold climate may not justify the same budget as a year-round outdoor living area in warmer regions.
Envisioning Style and Ambiance
The visual style of outdoor kitchen ideas should complement the existing home architecture and landscape design. Modern homes pair well with clean-lined stainless steel and concrete countertops, while traditional properties suit stone veneer or stucco finishes.
Lighting sets the mood for evening entertaining. Task lighting over prep areas ensures safe cooking after dark, while ambient string lights or integrated LED strips create a welcoming atmosphere.
Material finishes in outdoor kitchen design impact both appearance and maintenance. Polished granite counters deliver a refined look but show water spots more readily than honed finishes. Stainless steel appliances offer a professional aesthetic but require regular cleaning to prevent fingerprints and streaks.
Color schemes should coordinate with outdoor furniture and hardscaping. Neutral tones provide flexibility for changing decor, while bold accent colors create a distinctive focal point in the yard.
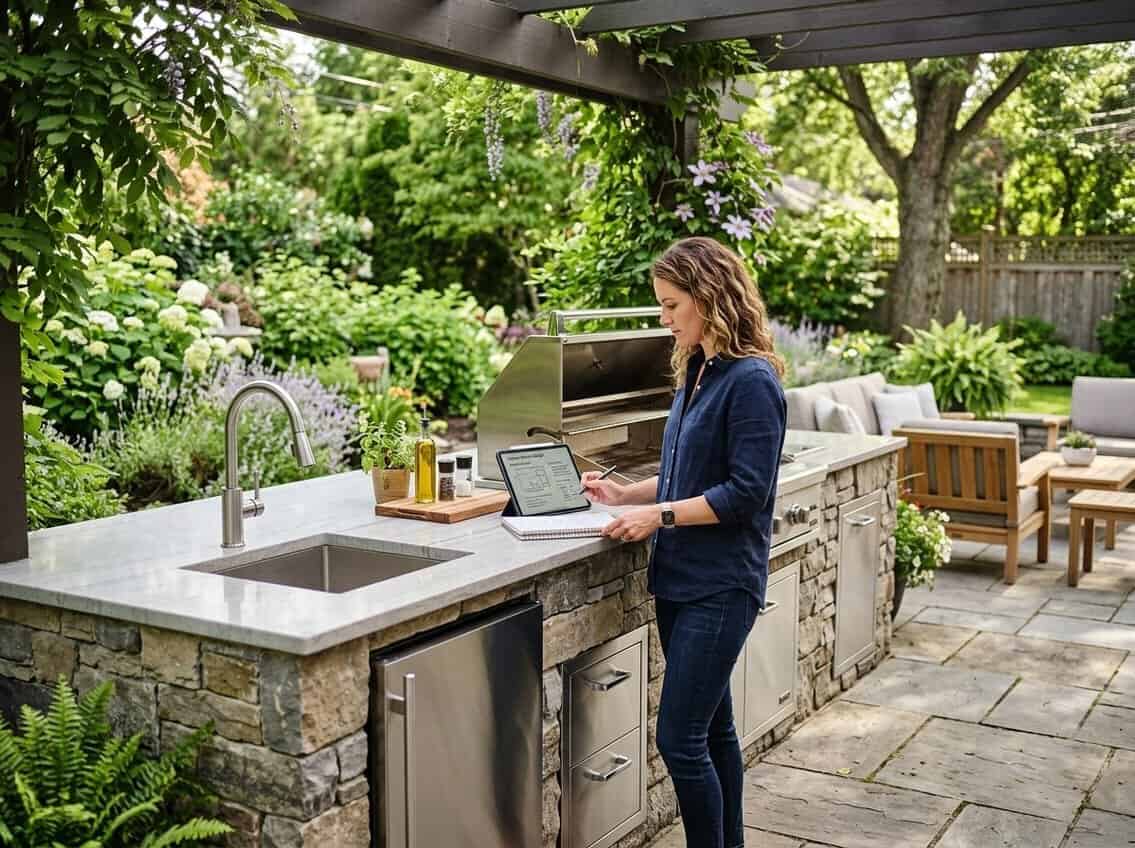
Setting a Realistic Budget and Scope
 pergola.” />
Your total budget shapes every decision from materials to appliances to whether you build, buy a kit, or hire contractors. Breaking down costs by category and understanding where you can save money helps turn an abstract number into a workable plan.
Budget Breakdown and Considerations
A typical outdoor kitchen budget includes several distinct categories that need individual attention. The grill or primary cooking appliance usually represents 25-40% of the total spend. Cabinetry and frame construction take another 20-30%, while countertops claim 15-25% depending on material choice.
Utility hookups for gas, electric, and water can add $1,000 to $5,000 or more to the project. This depends on how far lines need to run from the house and whether new circuits or gas lines require professional installation.
Additional appliances like refrigerators, side burners, or sinks increase costs significantly. A basic outdoor-rated refrigerator starts around $500, while premium models exceed $2,000.
Labor costs vary by region and project complexity. DIY builds avoid labor expenses but require significant time and skill. Professional installation typically adds 30-50% to material costs for a custom build.
Cost-Saving Approaches
Starting with a modular outdoor kitchen kit reduces both cost and construction time compared to full custom builds. These systems deliver a built-in appearance without requiring multiple contractors or extended timelines.
Choosing propane over natural gas eliminates the expense of running a dedicated gas line. Most quality grills work with either fuel type, so homeowners can start with propane and upgrade to natural gas later if needed.
Phasing the project lets builders spread costs across multiple seasons. Install the grill island first, then add a refrigerator or sink once the budget allows. This approach keeps the kitchen functional while avoiding debt.
Selecting durable mid-range materials instead of premium options maintains longevity without unnecessary expense. Granite countertops cost less than exotic stone but perform equally well outdoors. Welded aluminum frames match stainless steel durability at a lower price point.
Choosing the Ideal Location
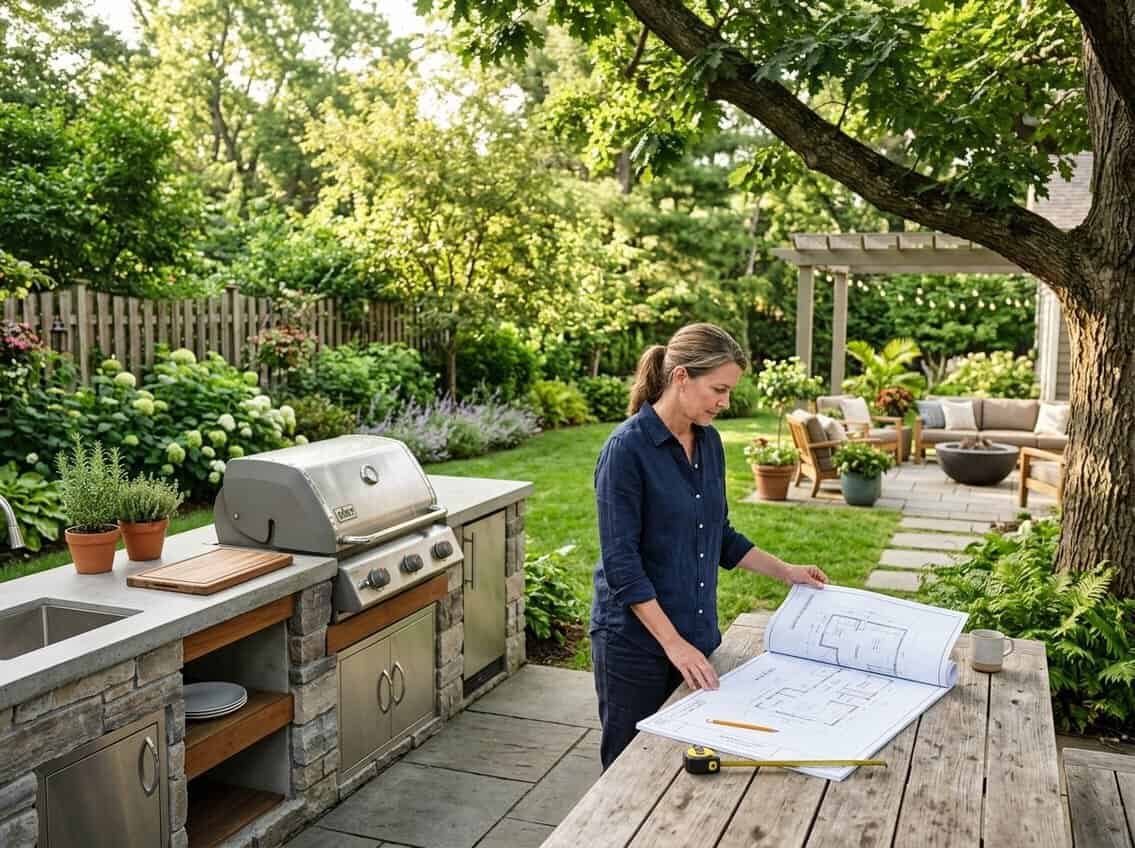
The right location balances practical needs like utility access and traffic flow with environmental factors like sun exposure and wind patterns. A well-chosen spot makes the kitchen both functional and comfortable throughout the cooking and entertaining experience.
Site Assessment and Environmental Factors
Start by observing how sun moves across the yard at different times of day. Morning sun might be pleasant, but harsh afternoon exposure can make summer cooking uncomfortable without shade coverage.
Track prevailing wind direction over several days. The grill should be positioned so smoke blows away from both seating areas and the house. Wind also affects burner performance and can make dining unpleasant.
Check the ground condition where the kitchen will sit. Level ground is ideal, but slight slopes can be managed with proper base preparation. Avoid low spots where water pools after rain.
Measure the space carefully to confirm the planned kitchen fits with adequate clearance. Leave at least 3-4 feet around all sides for safe movement during cooking. Consider overhead clearance too – avoid placing the kitchen under low-hanging tree branches or power lines.
Integration With Existing Outdoor Spaces
Position the kitchen within easy walking distance of the indoor kitchen. Carrying food, dishes, and supplies becomes a burden when the distance exceeds 30-40 feet.
The kitchen should enhance existing traffic patterns rather than block them. Keep main pathways through the yard clear so guests can move freely between the house, pool, or play areas without crossing the cooking zone.
Place the kitchen where it naturally connects to current gathering spaces. If there’s already a patio or deck where people congregate, extending or adjacent placement creates a cohesive entertaining area.
Check sight lines from inside the house. Being able to see the outdoor kitchen from interior living spaces helps the cook stay connected with guests moving between indoors and outdoors during parties.
Planning the Layout for Function and Flow

The most effective outdoor kitchen layout creates clear paths between cooking, prep, and serving areas while preventing traffic jams. Smart designers position appliances to minimize steps and keep guests from crossing through active cooking zones.
Work Triangle and Traffic Patterns
The classic work triangle concept places the grill, sink, and refrigerator with unobstructed paths between them. This arrangement reduces walking distance and keeps the cook moving efficiently between hot, cold, and wet zones.
Work aisles need at least 42 inches for one cook. Two people working together require 48 inches of clearance. Walkways separate from the cooking area should maintain 36 inches minimum to allow guests to pass safely.
Traffic flow becomes critical during entertaining. The grill should sit away from main pathways so smoke and heat don’t block access. Keeping primary walkways out of the area directly behind the grill prevents guests from walking through the cook’s workspace. Seating areas work best at least 3 feet from the grill edge to separate social spaces from active cooking zones.
Popular Layout Configurations
A straight-run layout (8-12 feet) fits narrow patios and typically includes a 36-inch grill with 12-24 inches of landing space on each side, plus storage and a compact refrigerator at one end.
L-shape designs separate hot and cold zones naturally. The grill sits on one leg while the sink and refrigerator occupy the other, creating a corner prep area that maximizes counter space.
U-shape configurations provide the most counter area and keep the cook centered in the space. This layout works well for frequent entertaining and allows multiple people to work simultaneously without crowding.
Galley layouts feature parallel runs with cooking on one side and prep or serving on the other. This setup creates clear traffic lanes in long, narrow spaces.
Essential Appliances and Features

The right appliances turn a basic outdoor space into a fully functional cooking area. A quality grill serves as the centerpiece, while additional appliances expand what you can prepare outside.
Selecting a Built-In Grill
The grill is the most important element of any outdoor kitchen. A 36-inch grill works well for most families and provides enough cooking space without overwhelming the layout.
Built-in grills come in three fuel types: gas, charcoal, and electric. Gas grills offer convenience and temperature control. Charcoal grills deliver traditional smoky flavor. Electric grills work well where gas lines aren’t available.
Look for grills with infrared burners for searing steaks at high heat. Built-in rotisserie options add versatility for cooking whole chickens or roasts. Side burners extend your cooking options beyond grilling.
Key grill features to consider:
- BTU output for heat power
- Stainless steel construction for durability
- Number and type of burners
- Warranty coverage
Don’t cut corners on the grill itself since it gets the most use in your outdoor kitchen.
Appliances for Every Outdoor Kitchen
Beyond the grill, several outdoor kitchen appliances enhance functionality. A refrigerator keeps ingredients fresh and drinks cold without trips inside. An outdoor sink with running water makes food prep and cleanup easier.
Side burners add cooking flexibility for sauces and side dishes. Pizza ovens create restaurant-quality results. Warming drawers keep food at serving temperature during gatherings.
Storage cabinets made from weather-resistant materials protect cookware and utensils. Choose stainless steel for durability in all weather conditions. Adding a trash drawer keeps the area clean during meal prep.
Selecting Countertops and Durable Materials
From experience: I planned an outdoor kitchen for years but kept running into the same realization — the farther you get from your home’s kitchen, the more of a full kitchen you need to build out there. Water lines, storage, counter space, weather protection — it compounds fast. What I’d actually recommend: start with a great covered grill station with solid shelves, a small fridge underneath, and an easy-to-clean countertop surface. You get 90% of the outdoor cooking experience without the complexity.
Outdoor kitchen countertops need to handle extreme weather while maintaining their appearance and function. The right material choice depends on climate conditions, budget, and design preferences.
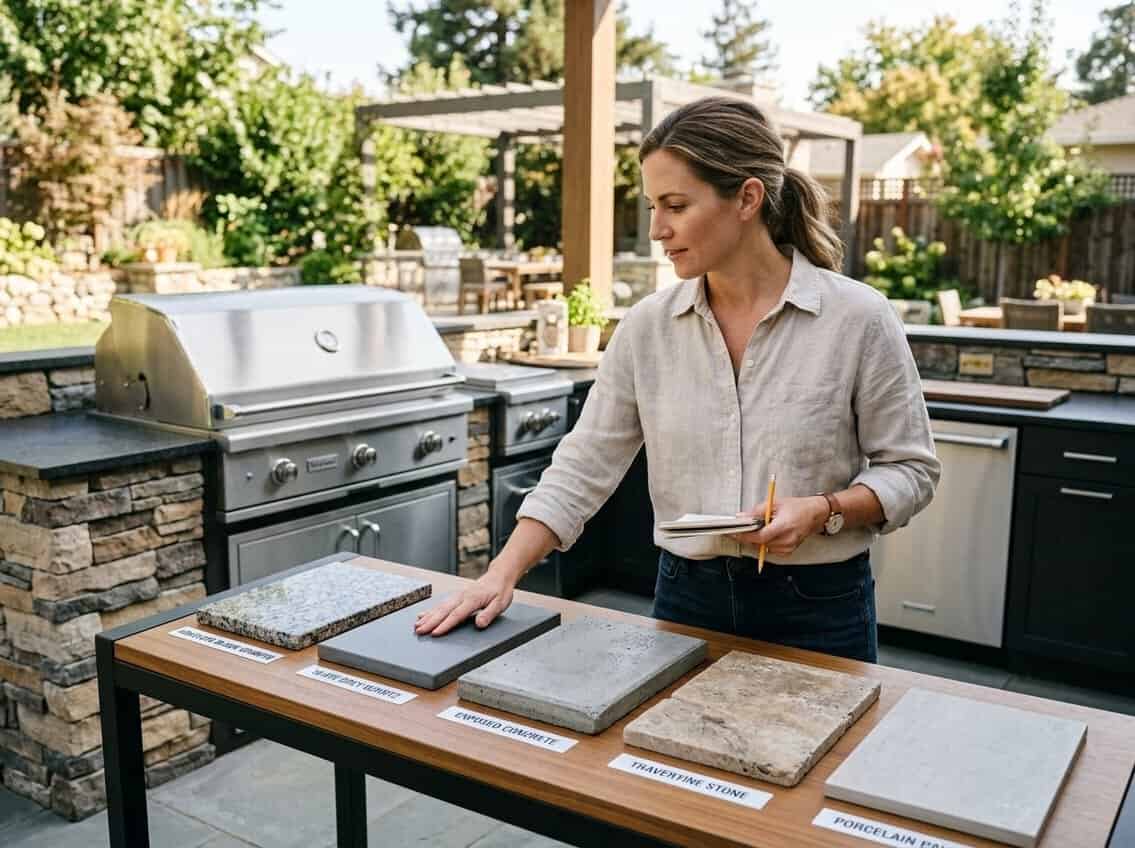
Outdoor Kitchen Countertop Options
Granite stands out as one of the most popular choices for outdoor spaces. It resists scratching, heat, and general wear while offering natural UV resistance. Granite countertops typically cost between $60-$100 per square foot and require sealing 1-2 times per year.
Quartzite provides a marble-like appearance with superior durability. This natural stone excels in high-end designs and sunny locations. It costs more than granite, ranging from $80-$150 per square foot.
Porcelain slabs have gained popularity for outdoor applications. They offer non-porous surfaces that resist staining and never fade in sunlight. Porcelain comes in various finishes that mimic marble, wood, or concrete. Prices range from $80-$120 per square foot.
Materials to avoid outdoors:
- Engineered quartz (discolors in direct sunlight)
- Marble (too porous and stains easily)
- Laminate (not weatherproof)
- Wood (deteriorates in changing conditions)
Weather-Resistant Materials
Choosing materials that withstand sun, rain, heat, and cold ensures a long-lasting outdoor cooking space. Porcelain performs best in freeze-thaw cycles because it absorbs zero water. Natural stones like granite and quartzite handle temperature swings well when properly sealed before winter.
Surface finish affects outdoor performance. Polished finishes look elegant but create glare and slippery surfaces when wet. Honed finishes offer a matte appearance that reduces glare and hides fingerprints. Leathered finishes provide subtle texture that prevents slipping and works perfectly in wet conditions.
Midwest climates require materials that handle extreme temperature changes. Freeze-thaw cycles cause the biggest problems when moisture enters porous surfaces and expands. Sealed granite, quartzite, and non-porous porcelain all resist this type of damage. Quality outdoor kitchen countertops last 10-20+ years with proper maintenance.
Utility Infrastructure and Safety Considerations
Gas lines, electrical circuits, and water supply must be planned before construction begins, and each requires specific code compliance and professional installation to ensure long-term safety and functionality.
Gas, Electric, and Water Planning
Natural gas requires a dedicated line run from the home’s existing supply to the kitchen location. This work must be completed by a licensed plumber or gas fitter, never as a DIY project. Propane offers a simpler alternative since most modular kitchens accommodate a standard 20-pound tank without professional installation.
Electrical systems need GFCI-protected outlets for all outdoor applications. A refrigerator, lighting, and rotisserie motors all draw power and require properly rated circuits. Every outlet box and wire must be rated for exterior use with weatherproof covers.
Water supply can start simple with a garden hose connection for cold water only. For hot and cold running water, a plumber taps into the home’s supply lines and runs them underground to the sink location. A basic drainage solution routes wastewater to a nearby landscape drain or requires a connection to the home’s drainage system.
Ventilation and Code Requirements
Built-in grills need adequate clearance from combustible materials including wood siding, pergola beams, and overhead structures. Most manufacturers specify minimum clearances of 24 to 36 inches from walls and 36 to 48 inches overhead.
Permits are required for new gas lines, electrical circuits, and permanent plumbing in virtually all jurisdictions. Check local building department requirements before starting work since unpermitted installations can void homeowner’s insurance and create resale complications.
Wind direction affects smoke flow during cooking. Position the grill so prevailing winds carry smoke away from seating areas and the house. An open layout without full enclosures provides natural ventilation and prevents heat buildup around the cooking area.
Design Ideas and Personalization Tips
Your outdoor kitchen should reflect your cooking style and entertaining preferences while maximizing your available space. The right design choices and custom features create a space that feels both functional and uniquely yours.
Inspiring Outdoor Kitchen Ideas
L-shaped layouts work well for most backyards because they provide plenty of counter space while keeping the cook connected to guests. This configuration places the grill on one leg and a prep sink or refrigerator on the other.
U-shaped designs suit larger spaces and serious outdoor cooks. They offer maximum counter space and storage with everything within easy reach. The cook stays centrally located while multiple people can help with food prep.
Island-style kitchens create a natural gathering point in open yards. The grill becomes the focal point with counter space wrapping around all sides. Guests can sit at bar stools on one side while the cook works on the other.
Popular Style Approaches:
- Modern minimalist: Clean lines, stainless steel appliances, concrete countertops
- Rustic traditional: Stone or brick exteriors, wood accents, copper fixtures
- Mediterranean: Stucco finishes, terracotta tiles, arched openings
- Coastal: Light colors, weather-resistant materials, open shelving
Covered pavilions or pergolas add shade and allow year-round use in many climates. They also provide mounting points for lighting and ceiling fans.
Ready to choose a grill for your new outdoor kitchen? See our picks for the Best Outdoor Grills of 2026 — reviewed by heat output, build quality, and value.
Custom Features and Finishing Touches
Pizza ovens have become increasingly popular additions that expand cooking options beyond standard grilling. They can handle temperatures up to 900 degrees and cook pizzas in just a few minutes.
Built-in wine coolers or kegerators keep beverages at the perfect temperature without trips inside. Side burners add flexibility for sauces, side dishes, or boiling water.
Lighting transforms the space for evening use. Under-counter LED strips illuminate work surfaces while pendant lights over dining areas create ambiance. Task lighting directly above the grill improves safety.
Personalization Elements:
- Custom tile backsplashes behind prep areas
- Decorative stone or brick patterns
- Built-in herb planters near the cooking zone
- Personalized cabinet hardware in bronze, copper, or stainless steel
- Outdoor-rated televisions for entertainment
Warming drawers keep food at serving temperature during long gatherings. Trash pullouts and paper towel holders reduce clutter on countertops while keeping essentials accessible.